2 Installation
You can download and install the File Server Agent software directly from the Web Portal. Complete the following steps to install the CentreStack File Server Agent software on your file server.
2.1 System Requirement
File Server Agent can be installed on the following OS
- Server OS
- Windows 2022
- Windows 2019
- Windows 2016
- Client OS
- Windows 10
- Windows 8.1
- Windows 8.0
- Windows 7
- Windows Vista
- Windows XP
2.2 Preparation
File Server Agent depends on .NET framework 2.0 or later. If you are installing the file Server Agent on Windows Server 2022/2019/2016, you need to prepare the .NET environment. This usually can be done from the Windows Server Manager > Manage Roles and Features and then in the features section, select .NET Framework 3.5

WINDOWS SERVER 2016 .NET FRAMEWORK FEATURE
If you are installing File Server Agent on Windows 8/Windows 10, you can get .NET framework 2.0 (3.5) installed from “Program Files” -> Windows Components.
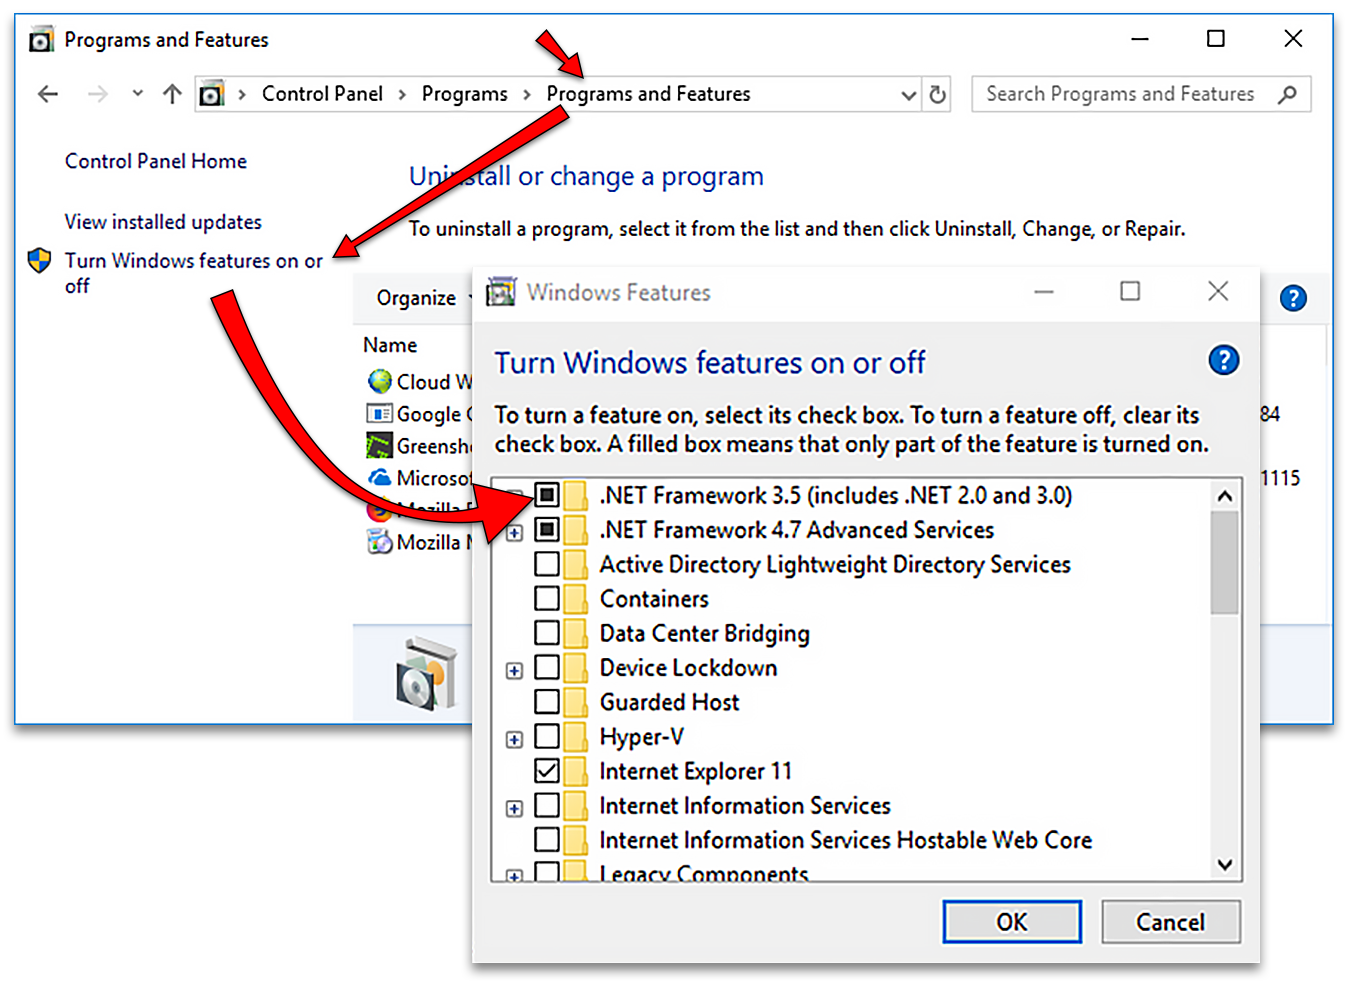
WINDOWS 10 .NET FRAMEWORK 3.5 FEATURE
2.3 Install
Important
Always install CentreStack File Server Agent as a Tenant Administrator when you are at the login dialog.
File Server Agent belongs to a specific Tenant instead of belonging to a specific user. So it is best to download the File Server Agent as the Tenant Administrator and set it up to connect to the same Tenant Administrator’s account.
Step 1 - Download the Installer Package
From the File Server you wish to install the File Server Agent; open a browser and log in to the Web Portal as the Tenant Administrator. From the Management Console, click the (+) in the “Remote Active Directory” section on the right-hand side.
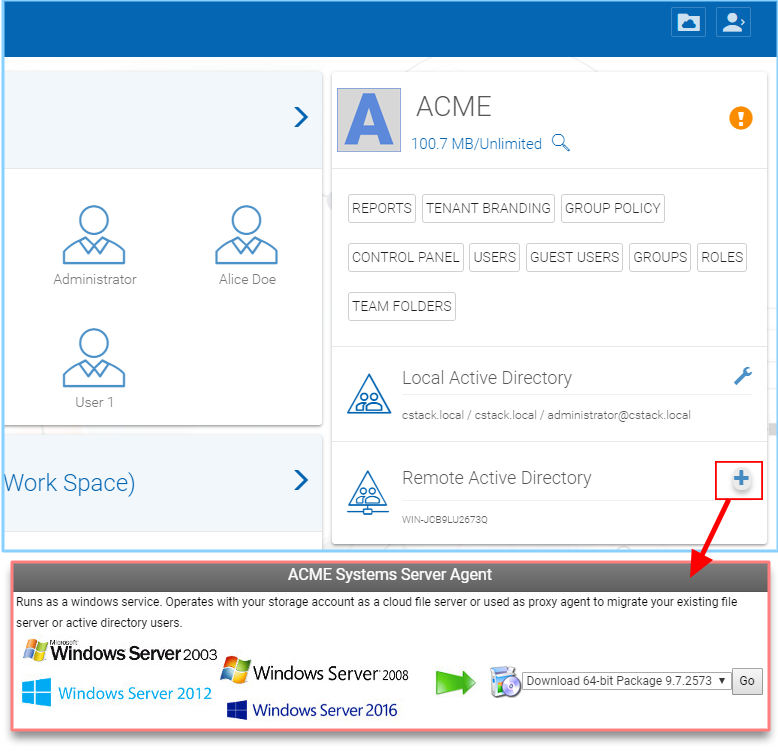
SERVER AGENT DOWNLOADS ACCESS
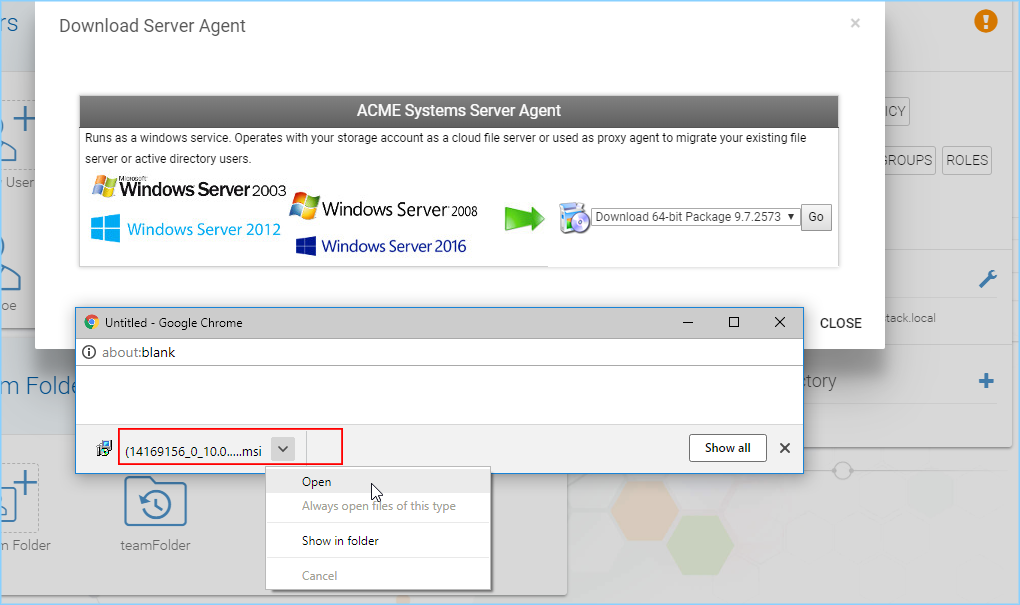
In the pop-up window, choose your Download Package from the pull-down menu and click Go to begin the installation.
A window will open. Click the MSI file at the bottom of the browser to open the installer.
OPEN THE INSTALLER
Note
File Server agent software is capable of synchronizing three things between the local file server and remote cloud storage account.
- synchronize selected files and folders.
- synchronize selected Active Directory users from local to cloud.
- synchronize NTFS permissions on the local file server to cloud.
You can start installing file server agent from “Adding Remote Active Directory” or from “Adding Team Folder via Remote Server Agent”.
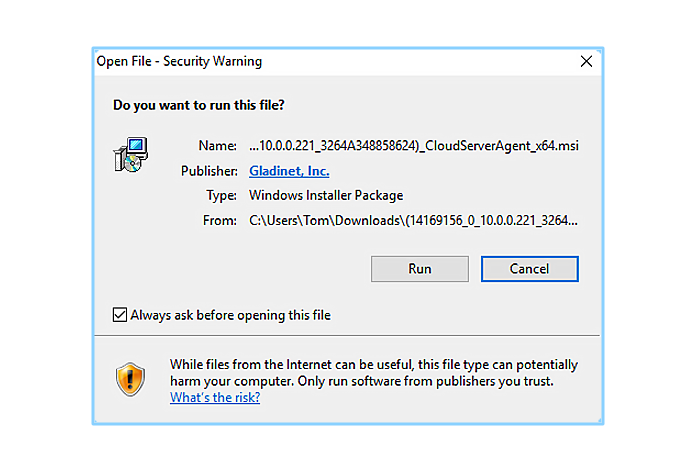
Step 2 - Run the Installer Package
Click “Run” to start the installation.
RUN THE SERVER AGENT INSTALLER
Step 3 - Welcome Screen
On the Welcome Screen choose “Next” to continue.
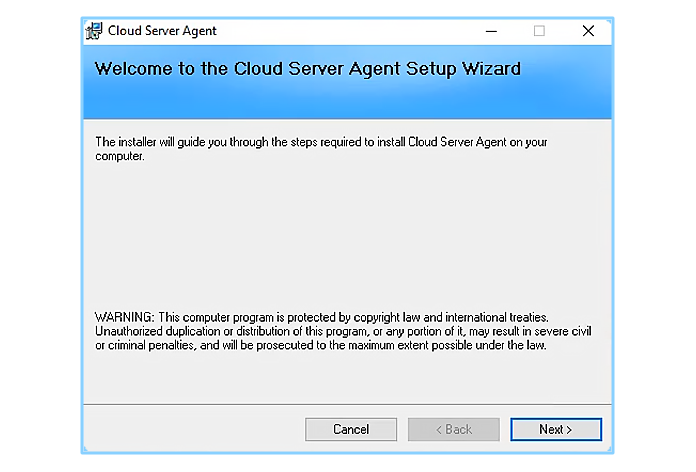
WELCOME SCREEN
On the Welcome Screen choose “Next” to continue.
Step 4 - License Agreement
Read and accept the license agreement by choosing “I Agree” and click the “Next” button.
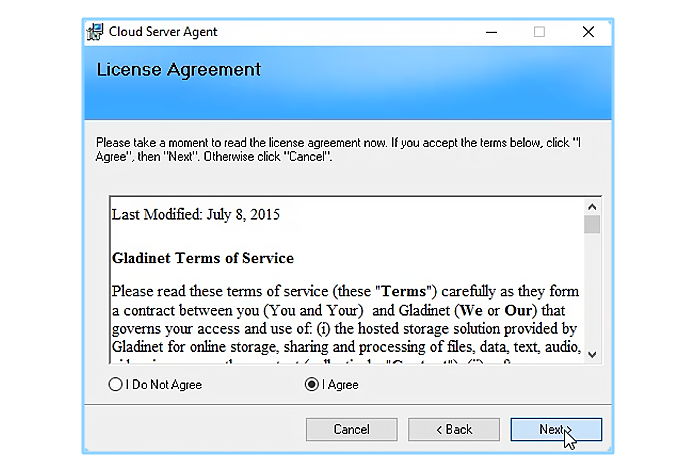
ACCEPT LICENSE AGREEMENT
Step 5 - Confirm Installation
Now we will complete the File Server Agent installation. Click “Next” to finish.
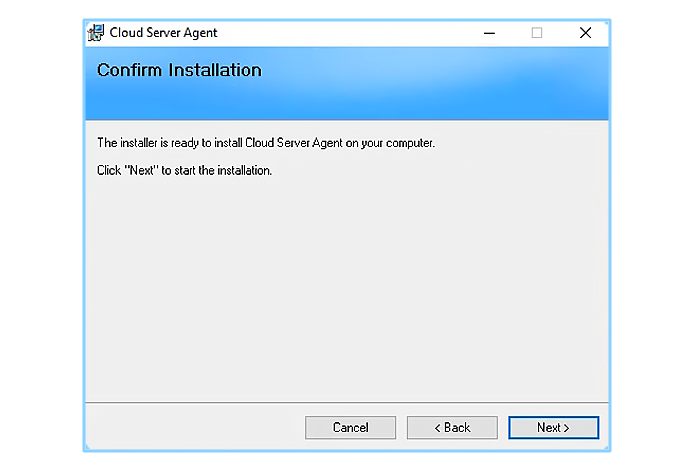
CONFIRM INSTALLATION
Step 6 - Installation is Finishing
It will only take a few minutes to complete the installation.
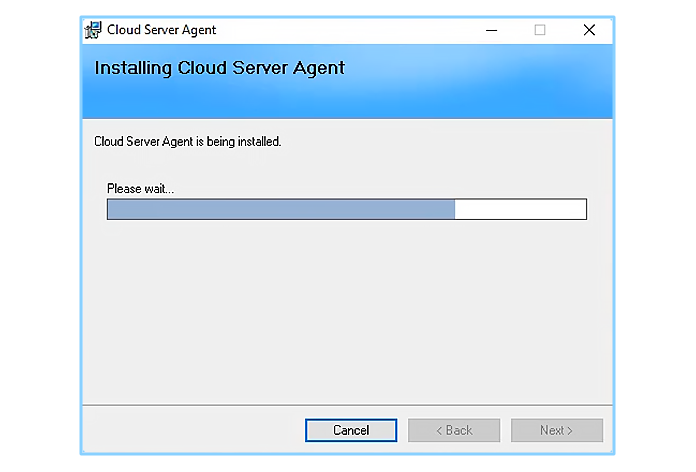
FINAL INSTALLATION PROCESS
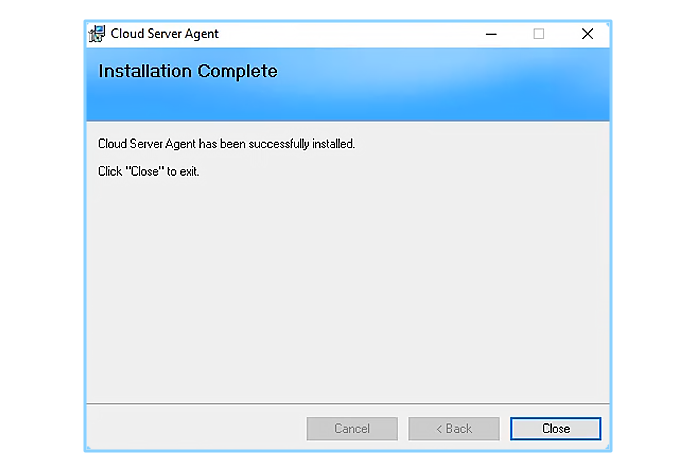
Step 7 - Installation Complete
Once the installation is completed, click the “Close” button to finish.
CLOSE INSTALLATION WINDOW
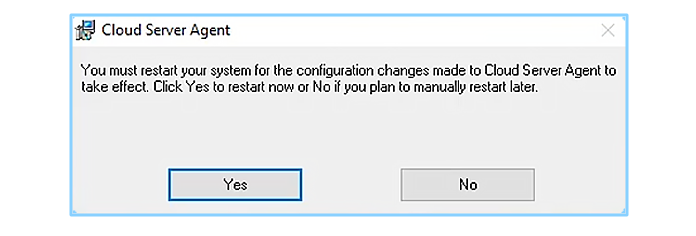
Step 8 - Restart Your System
Just restart your system and File Server Agent is ready to use.
RESTART YOUR SYSTEM
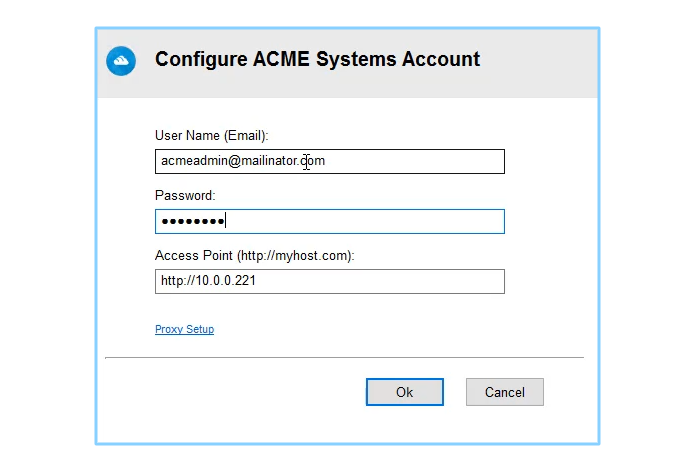
Step 9 - Login To CentreStack
After the reboot, log back into Windows as the same Windows user. Be patient, as it will take a few minutes for the Login Panel to display. Login to CentreStack as using your Tenant Administrator credentials.
Note
The File Server Agent can be logged in to the Tenant already if you don’t see the login dialog. You can go to the Web Portal side, login as the Tenant Administrator and go to the “Device Manager” side to see the File Server Agent.
LOG IN AS TENANT ADMIN